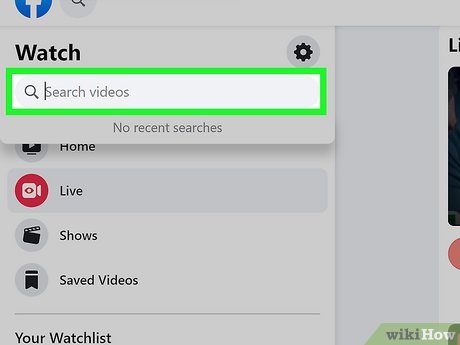
When you tap the Live button, Facebook will ask for access to your camera and microphone. You can then add a description and choose who can view your video.
You can also add a tag and use emojis to help viewers find your stream. Then, you can add a theme and use effects to make your video more fun.
Camera Settings
When you tap the camera icon to start your video, you’ll see a list of options at the bottom of your screen. Here you can select which camera to use (rear or front), a background, and a filter. You can also add a title and description to your video. In addition, you can choose to tag people or places in your video, raise money with the heart-stamped Donate button, and opt for live comment moderation.
When the video is finished, it will be posted to your timeline and available to anyone who has permission to view it. If you want to keep it private, tap the downward arrow to save your video to your camera roll.
During a live broadcast, viewers can comment or ask questions in the chat section of the video. This can help you connect with your audience and make your content more interactive. Facebook also allows you to pin comments to the top of the stream so that you can focus on answering them. In addition, you can enable live badges for your most active fans so that they can be highlighted in the front row of your video.
If you get a particularly obnoxious comment, you can block the viewer from your broadcast by tapping their profile picture and then selecting Block. You can also crosspost your video to Facebook groups so that viewers in those communities can watch.
Streaming Options
Facebook Livestreaming is one of the most popular options for broadcasting video content. Using the app, you can create and stream videos from your device’s front or rear camera in high definition, as well as add filters and color overlays. It’s also possible to tag people and places, and raise money with the heart-stamped Donate button.
You can go live directly from your Facebook profile or from a page that you own. The latter option gives you access to paid advertising and allows you to promote your videos. Before you start streaming, you can edit the title and location of your video and set a custom privacy setting.
Once your camera settings are set, tap the ‘Start Live Video’ button to begin your broadcast. You’ll be able to see how many viewers are tuned in as you stream, and can interact with them via text and video chat. You can even bring in a guest host to host the livestream with you by tapping the Bring a Friend button.
You can also customize the look of your livestream by adjusting the lighting and adding a backdrop. If you want to manage the conversation that happens on your livestream, you can turn on Live Comment Moderation. If you get upset by a viewer’s comments, you can block them and prevent them from coming back to your stream.
Audio Settings
While you’re live, you can tap the “Add Audio” button to add music or other sounds to your video. You can also adjust the volume and disable auto-mute, which is a handy feature to have in public settings.
After your video is finished, you can tap the three dots in the upper-right corner on Android or the bottom-right corner on iPhone and select “Send to a Page” or “Delete”. You can then choose whether to share it on your personal profile or post it to a group.
Getting started with Facebook Livestreaming is as simple as opening the app and tapping the red camera icon that says “Live”. If this is your first time going live, you’ll need to grant Facebook permission to use your camera and microphone.
Once you’ve done this, you can start broadcasting your video by selecting a camera (you can switch between the front and rear cameras at the top of the screen) and giving it a title. You can also include a location and add an emoji, as well as a donation button for your viewers to contribute to.
You can even add filters and effects to your video before you go live by tapping the magic wand in the upper-right corner of the screen. These options aren’t essential, but they can help to make your video more interesting to watch.
Editing
Before you start streaming, make sure your connection is stable. Use a WiFi connection (preferably 4G or 5G) and make sure you’re not in a public space where you might share your data with others. Also, keep in mind that going live consumes a lot of mobile data, especially if you’re using a cellular network.
When you’re ready to go live, tap the red camera icon on the top right of your Facebook app screen or in the post composer screen (if you’re on a profile). If it’s your first time going live, you will be asked to grant Facebook permission to access your camera and microphone. You can choose whether you want to post the video publicly, only to your friends or specific groups of people.
Once you’re live, you can see the number of viewers in real-time on your screen as well as their profile photos and comments. You can also add a caption or ask viewers to subscribe so they’ll be notified the next time you’re streaming.
On Android, you can also switch between front and back cameras as well as apply filters during a broadcast. The app will also allow you to invite friends and followers to join your video, create a poll and set up the location of the event. Unfortunately, this feature doesn’t seem to be available on iOS.

